Odds and Ends

We closed our pool this past Saturday, 10/2, and not a day too soon.  Less than 24 hours after we put the safety cover on, it was completely covered with leaves.  Our final swim of the season was Sunday, 9/26, which although a couple weeks shy of our all-time record, was still pretty late, considering we didn’t use a solar blanket this year.  We had a late-September heat wave that got the water temperature back up to a fairly balmy 80 degrees.

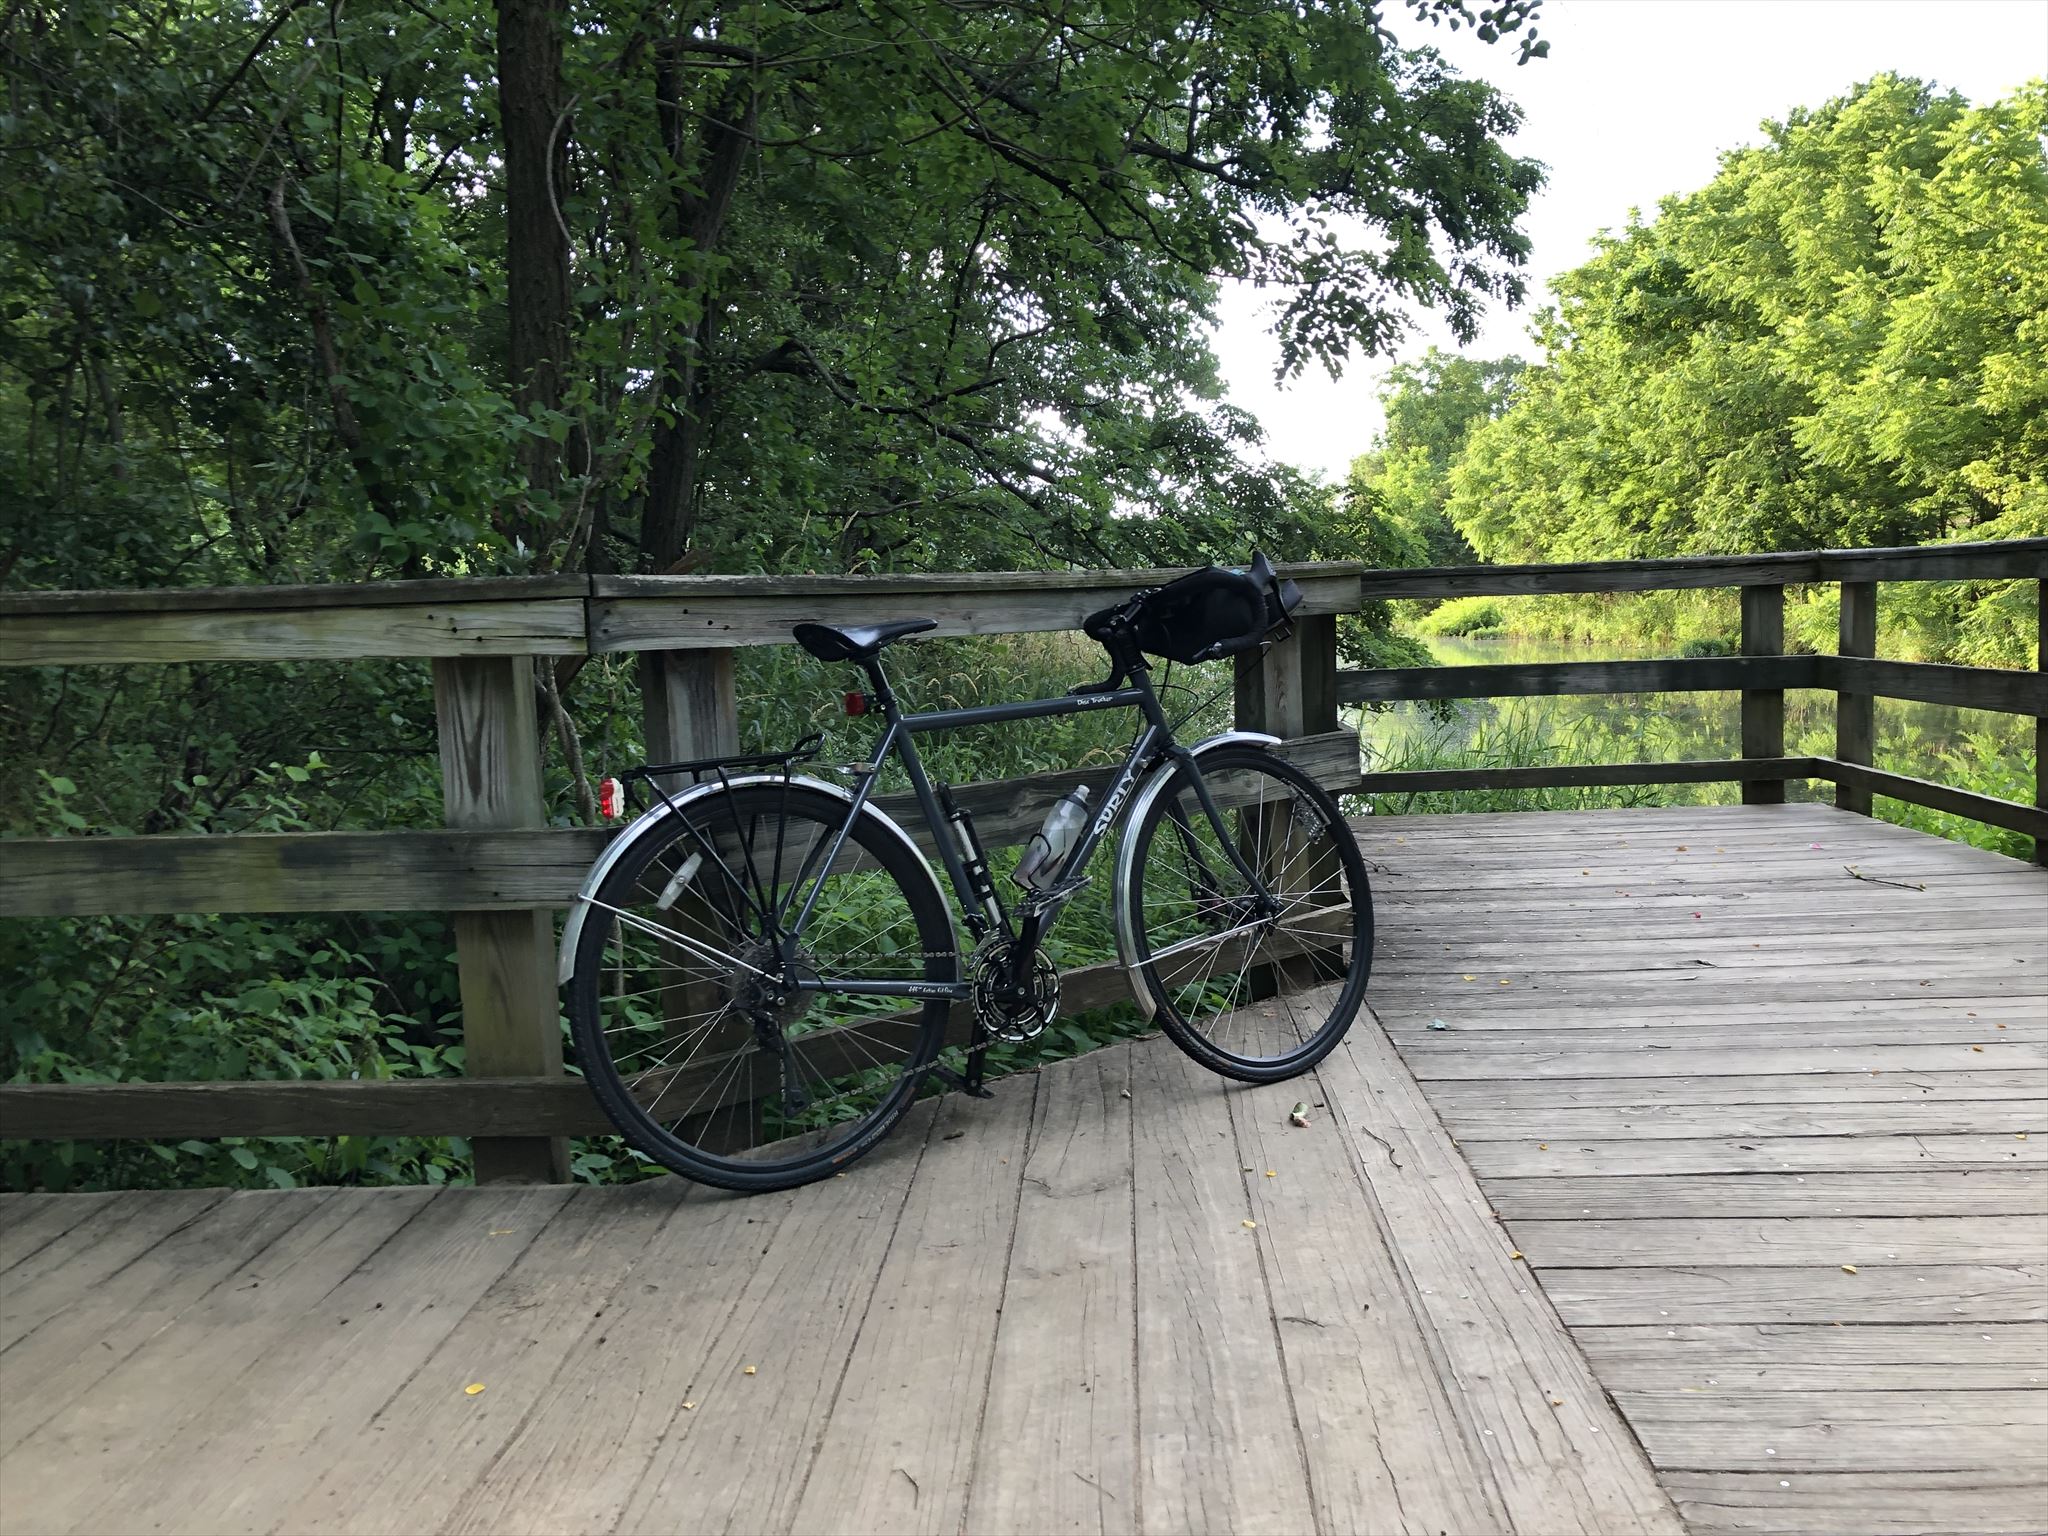
Took advantage of some dry (albeit cloudy) weather this morning to take a 20 mile ride into work on the fixed gear.  I have been having some problems with my hands falling asleep on this bike, so last week I made a couple of minor fit adjustments: first I raised the stem about ½”, which helped a bit, but not enough.  So next I tried tilting my seat back a little more, and that seems to have helped a lot.  Apparently I was putting too much pressure on my hands and shoulders trying to keep from sliding forward on the seat.  The down-side of this is that the seat is now slightly less comfortable.  It may make sense to try a different saddle.

Long Sleeves

Not much noteworthy about today’s ride, except that I wore a long sleeve jersey, for the first time since probably May.  As hot as this summer has been, I didn’t think this day would ever arrive.  Won’t be long, and I’ll be griping about how cold it is and how I wish I could get back to wearing summer clothes.  I did pack a short sleeve shirt for the return ride this afternoon.

I raised the stem height on my fixed-gear bike yesterday, hoping it would make the bars a little more comfortable.  Fortunately I had a little more height available on my threadless steerer tube, and was able to rearrange the spacers and get the stem up about ¼”.  It helped a bit with the reach, but not really with the hand positions.  I think I may need to swap out handlebars.  The bike currently has “bull horns,” which are indeed popular on urban-style fixed gear bikes (and also time trial bikes), but I just don’t find them comfortable for everyday commuting.  I’m still undecided as to what to try.  Standard drop bars are an option, but I’ve also heard good things about “moustache” style bars.  Either way, I’ll also need new brake levers.  Will need to give this some thought.

Going to try to get in a quick swim this weekend.  It may be my last time in the pool this season.  Our solar blanket was falling apart, so we got rid of it earlier this summer, and now we’re missing it.  It can be a pain to deal with, but it does extend the pool season a bit.

Snowpocalypse

Unfortunately, Snowpocalypse 2010 has put the brakes on bike commuting for the time being this winter.  If I can’t do it safely, I don’t do it, and the roads are not in good shape for biking.  I’ll be back out as soon as some of it melts, and/or I can find a safe route to take.

Over the past couple days, I’ve driven along some of my favorite bike-commuting routes, and here are my observations.

  • Lawyers Hill Rd and Levering Ave: Bare pavement, both lanes, a little narrow.  Doesn’t carry much traffic, so I would have no problem biking this.
  • River Rd between Lawyers Hill and Patapsco State Park: bare pavement, 1 lane wide.
  • River Rd park entrance: blocked by a giant mountain of snow and will probably be that way for a long time.  Access road hasn’t been touched.
  • US 1 between South St and Levering Ave: pretty good shape in both directions, but a couple spots where icy slush blocks the entire shoulder, which would necessitate riding out into the right lane.
  • Montgomery Rd between US 1 and Marshalee Ave: not too bad in most spots, but missing shoulder in places.  Would not feel comfortable biking this during rush hour.
  • Montgomery Rd between Marshalee Ave and Rockburn Dr: no shoulder.  Non-starter.
  • Rockburn Dr: one lane, poorly plowed and icy.
  • Kerger Rd: bare pavement, a bit narrow.  Could bike here.
  • Ilchester Rd between Kerger and Beechwood: Similar to south Montgomery.
  • Landing Rd: glanced at it while driving by on Ilchester, and what I saw did not look good.
  • Beechwood, Bonnie Branch and River Rds: single lane clear.  Could bike in a pinch, but not ideal.
  • Hilltop and Thistle Rds were both unplowed and closed off at River Rd.
  • Frederick Rd between River Rd and Oella Ave (Ellicott City Side): best of the lot.  Shoulders fully clear.
  • Oella Ave: single lane, not plowed very well.
  • Wilkens Ave from Rolling Rd to UMBC: decent shape, shoulder clear.  Bikeable.

On the way home, I’ll check out the conditions through Relay and Halethorpe.  But it looks like any route I take is going to be non-ideal, so I will have to pick the lesser of the evils.  Currently, that appears to be Lawyers Hill to Levering to U.S. 1, to South St and through Relay and Halethorpe (depending on what shape those roads are in; I’ll find out later today).

UMBC is cleared out as well as can be expected.  The head-in parking on Hilltop Circle works in my favor in these conditions, because to allow for parking, they have to clear the “buffer zone” between the road and the parking spots, which provides room to ride out of the travel lane.  Most, but not all, of the loop is clear.  But all the same, there are enough walkways clear that I can just cut through campus on foot if I had to.  All in all, they did a pretty good job.

On a totally unrelated note..  The other day I noticed that Home Depot was selling 50lb bags of Calcium Chloride “ice melter” pellets for around $17.  Calcium Chloride is among the more expensive alternatives for ice melter, and it’s not common to find it being sold as such at retail around here.  It is common to find it at swimming pool stores, where it’s sold as “Calcium Hardness Increaser”, often at prices of over $2 a pound.  So while $17 may seem like a lot to pay for 50lbs of ice melter, it’s an amazing bargain for 50lbs of  “Calcium Hardness Increaser.”  So, I picked up a bag to use in the pool this spring.  I would have bought more, but apparently I got the last bag in the store.

This morning’s fun

Today’s pool maintenance fun..

  1. Spend 30 minutes with the leafmaster, vacuuming up all the junk at the bottom of the pool from the storms last night.
  2. Achieve pleasant sense of accomplishment and well-being as I begin to remove the leafmaster from the now-clean pool.
  3. Watch leafmaster bag separate from leafmaster as I’m pulling it out of the pool, spewing all the junk back into the pool where it immediately settles back to the bottom.
  4. Mutter some choice words as I attempt to re-attach bag to leafmaster while it helpfully sprays water all over me and the pool deck.
  5. Check that bag is secure and repeat step 1.
  6. Pull leafmaster out of pool, this time with no mishaps, but now, instead of being happy, I’m sweaty and irritable.  But at least the pool is clean again.

Ever think you might want your own pool?  Forget it and go join the neighborhood pool.  Thank me later 🙂

This and That

So..  another summer is upon us.  Howard County schools finally let out at the end of this week.  I remember when I was a kid, summer vacation was almost 3 months long, and now it’s down to barely two.  Instead, there are tons more random days off during the school year, for “professional teacher work days” and the like.  Not sure if it’s a step forward or back, but I think if I was a kid I’d feel a bit gypped.

Three weeks after uncovering, the pool is finally clear, clean and up to a reasonable swimming temperature.  It was more of a swamp than usual this spring.  Over 3 weeks I’d say it took 20 gallons of 12.5% sodium hypochlorite, 10 pounds of dry acid, 15 pounds of baking soda, and 3 pounds of aluminum sulfate (a flocculent) to get it cleared up.  I had to vacuum to waste 4 times, compared to twice on an average year.  Not sure what the deal was this year, but I’m sure the April heat wave didn’t help.  It also didn’t help that the pool was already starting an algae bloom when we covered it in late September.  Didn’t feel like dealing with it then, knew at the time it was going to give me headaches come spring, covered it anyway.  Lesson for the day:  Never put off fixing pool water problems..  they never go away, they just become bigger problems over time.

The big new thing for the pool this summer is the salt water generator.  I installed it over the winter and early spring, in the hopes that it would cut down on work and help prevent water problems.  One of the problems with manual chlorination is that during the summer, you can’t neglect it, even for a single day, or you will end up with algae.  Automatic chlorine feeders are a step up, but you still have to buy, store and handle the chlorine, and you have to remember to keep the feeder full.  With the SWG, you dump an initial amount of salt into the pool, then you set the SWG and forget it.  Obviously they still require maintenance, but they eliminate the day-to-day drugdery of manual chlorination and eliminate the need to handle and store lots of chlorine.  Now, I keep a little bit on hand for “shocking,” but that’s it.  The jury will be out on the SWG until I’ve had it for a whole season, but up to now, it’s lived up to the hype and seems like the best thing to come along for pools since automatic cleaners.

Chlorine Generator Manifold Repair

I’m in the process of installing a salt-water chlorine generator (model DIG-60 from AutoPilot) for my swimming pool.  As part of this, I need to plumb the salt cell in downstream of my filter.  The cell is part of a big inline manifold which includes a 3lb spring check valve.  The valve’s purpose is to limit the water pressure going through the salt cell, theoretically extending the cell’s life.  Anyhow, as I was preparing to install the manifold, I dropped it (don’t ask) and the check valve broke away from one of its adjoining tees:

Broken AutoPilot Manifold

What to do here?  The whole manifold is solvent-welded together, and the tees are attached to proprietary unions.  At first glance there appeared to be no way to fix it other than ordering a replacement manifold, at a cost of over $100.  By contrast, a replacement check valve can be had online for $15-20.  So I decided to think outside the box a bit.  The check valve is made by Flo-Control and is commonly sold as an air check valve for spa blowers.  It has a 1½” socket and a 2″ spigot, meaning one can either attach a 1½” pipe “inside” it, or a 2″ pipe “around” it.  AutoPilot ships it with 2″ tees cemented to either side, which attach to the pool’s plumbing.  My pool has 1½” plumbing, so I would ordinarily need a reducer bushing to attach to the tees on the manifold.  When the manifold broke, the 1½” socket end of the valve was left stuck inside the tee.  Eventually, it occurred to me that if I cut the other tee away from the valve, I could flip the tees around and cement a new valve to the intact ends. The other ends, with the remains of the original valve, would then accommodate my 1½” plumbing without the need for reducer bushings.  It seemed like a great plan, so I pulled out my trusty miter saw and cut the intact tee away from the old valve, leaving me with 3 pieces:

AutoPilot Manifold Parts

I then went online to look for a replacement valve, and promptly ran into another problem.  It turns out that this particular valve is sold in a bunch of different spring weights:  .75, 5, 10, and 15 pounds, to name a few.  The version that ships with the AutoPilot has a 3lb spring.  And here’s the problem:  I wasn’t able to find the valve with a 3lb spring anywhere.  It’s not even listed on Flo-Control’s web site.  They’re apparently made special-order for AutoPilot.

Makeshift check valve spring removal tools

Undeterred, I wondered if I could remove the spring from the broken valve and reuse it in a new valve. With the help of a couple of makeshift “spring removal” tools I fashioned out of copper wire, I was able to extract the spring. As a proof-of-concept, I then replaced the spring with the help of some needle-nose pliers.  Encouraged, I went ahead and ordered an identical valve with a .75lb spring.  I chose the model with the lightest spring I could find, figuring it’d be the easiest to get out without damaging the valve.  The valve arrived a few days later, and happily, it was identical to the original valve, other than having a different weight spring and not being broken.  The lighter-weight spring easily came out of the new valve, and with a little effort I was able to insert the 3lb spring.  Turns out direction matters when re-inserting the spring:  it initially wouldn’t seat properly, but when I flipped it around it went right in.  With that, I had a working, non-broken 3lb check valve.  I then cemented the two tees onto either end of the valve, completing the repair:

Repaired AutoPilot Manifold

All that’s left to do is plumb it in and make sure it works.  Assuming it does, my little accident (dropping the manifold) cost me a lot less than I had feared.

More fun with digital TV

The great digital TV antenna project continues.  I found out that the cheapie UHF antennas I built are known as “4 bay bowtie dipoles,” and they are very similar to the Model 4221 by Channel Master.   Based on my reading, I’ve decided not to try using a combiner to join the antenna signals.  Instead I picked up a remote control A/B switch at Radio Shack, model 15-1968, and it seems to work great.  I’m going to buy a second one for our other TV.  Providing most of your stations are in 1 of 2 different directions (as mine are), this switch is a great alternative to a rotator.  In particular, multiple TVs can watch signals from different antennas simultaneously, which is not possible with a rotor.  The down side, of course, is that you need to run two separate antenna cables to each TV.  But that only needs to be done once.  I’ve also ordered a couple of Sony model RM-VL600 universal remotes, based on all the positive reviews.  My hope is that I can use these to work the A/B switches.  We’ll see how they work out once they get here.

I may need to move my Baltimore antenna.  It’s aimed NNE directly at TV hill, but there are a lot of tall trees blocking its path.  It seems to pick up most of the Baltimore stations just fine..  WMAR-2, WBAL-11 and WBFF-45 all come in perfectly with 95%+ signal strength consistently and no dropouts.  WJZ-13 is my problem child, though.  I was watching it this afternoon and it started dropping out as soon as the wind kicked up.  Wondering if the frequency WJZ-DT is currently using has something to do with it — WMAR, WBAL and WBFF are all currently at the higher end of the UHF spectrum, while WJZ is lower at 38.  Dunno, but I’m going to try moving the antenna to the other end of the house, where it can hopefully get a clear shot through the foliage.  Just need a longer length of RG-6.

All bets are going to be off come February 2009, when a lot of these stations will be shifting back to the VHF band.  At that point, I may need to add a VHF antenna to my setup.  Looks like all of my local stations will end up on the high VHF band (channels 7-13), so I should be able to get by with a smaller VHF antenna.  I’m going to hold off before I do anything, though.  My current antennas seem to pick up the analog channels in the VHF-hi band pretty well, so they may do the job with the digital channels.

Stay tuned..  (no pun intended)

Gorilla Glue Test

We have an automatic cleaner for our swimming pool.  It’s the kind that runs on water pressure and uses a booster pump.  I have kind of a love-hate relationship with it.  When it works, it works great, but when it doesn’t, I’m constantly swearing at it.  It’s got a lot of moving parts (belts, gears, you name it) and it seems like something breaks on it every year.  Anyhow, this year it was the automatic backup valve’s turn to break.

The backup valve is a big conglomeration of gears driven by a paddle wheel.  It’s actually quite ingenious.  The gears drive a rotating port that changes the flow of water through the valve every several minutes, which causes the pool cleaner to “back up,” which is an essential feature as it’s continually getting stuck in the pool’s corners.  One of the gears is held in place by a small retaining clip, and at some point this year the clip came off and disappeared into the great unknown.  The result was that the gear no longer stayed on the shaft.  It would stay there for a while, but eventually it would fall off and the backup valve would stop cycling.

Lacking a matching retaining clip, I wasn’t sure how to fix this without shelling out megabucks for a new valve.  So I decided to try Gorilla Glue. We picked up a bottle of this a while back, and it’s pretty impressive stuff.  One of its interesting properties is that it expands as it cures, sort of like that expanding aerosol spray foam stuff.  This can be a pain when you’re using it to repair furniture, as the glue tends to ooze out of the repair as it cures.  But, it’s exactly what I needed in this case.  I just stuck the gear on the shaft and added a dab of Gorilla Glue, and it expanded into a small blob, holding the gear in place perfectly.

So anyways, Gorilla Glue claims to be waterproof.  During pool season (which runs from Memorial Day through around the end of September in these parts), The pool cleaner spends 90% of its time at the bottom of the pool, submerged in chemically treated water.  I made the repair somewhere around the end of June, and it’s been mostly submerged ever since.  At the end of pool season, I’ll take the valve apart and see how well the repair has held up.  I’ve had no problems with the backup valve since making the repair, which I take as a good sign.  But I can’t think of a better way to see how waterproof this stuff really is.  Stay tuned!

Blogging again…

Hopefully I’ll pick up the blogging pace a bit now that I’ve moved everything over to wordpress.com.  In preparation for un-password-protecting the blog, I’m going through all of my old posts, and the only thing I’ve noticed is that all of my links to other blog entries are broken.  Nothing unexpected, but I wonder if there’s anything that can be done to prevent this from happening every time I move the blog (it’s moved 3 times now, and it’ll probably move again).  Probably not, but right now all my links reference posts by number, and it might help to change them to use named permalinks.

My latest pet project at home is preparing us for the impending cutover to digital TV.  We’re far too cheap to pay for cable or satellite TV (although FiOS may be hard to resist), so I’m concentrating on getting a nice setup for receiving over-the-air digital broadcasts.  Following some instructions I found on the Internet (where else), I built two homemade UHF antennas.  The author of this web page uses a single antenna with a rotator.  At our location, though, we’re smack-dab in the middle of the Baltimore and DC TV markets.  So I can set 2 antennas up in the attic, one aimed at Baltimore, and another aimed at Washington, and pick up pretty much every station within 50 miles, without the hassle of a rotator.  The only issue is combining the signals.  The antennas work great separately, but I haven’t tried using a combiner yet (I try to avoid going up in the attic this time of year..).  Using a combiner in this kind of setup is always going to result in some signal loss, so the question is, will the resulting combined signal be acceptable?  I don’t know, but it’s easy enough to try, which I plan on doing soon.  If the combiner setup doesn’t work well, the other option is to run separate antenna feeds to each TV and then use a switch similar to Radio Shack Cat. No. 15-1968 (each TV would need its own switch).  I know this will work, but it obviously involves extra work and expense.  But it’s still preferable to a rotator, IMO.

Sort of on the same topic, I picked up one of those much ballyhooed digital “converter boxes” awhile back, to use with our old TV.  Total outlay was just over $20, thanks to the $40 coupon from Uncle Sam.  This is an Apex model that is being sold at Best Buy.  It works as expected, and includes all the standard features you would expect from a digital tuner (TV guide, signal strength meter, etc).  However, I kind of wish it had come with a universal remote.  The included remote control works fine, but it’d be a nice touch if I could also turn the TV on/off and adjust the volume with it.  As it is now, I’m stuck with 2 remotes until I can find a cheap universal remote that can also work the converter box.

More later..

Weekend update

Kind of a lazy weekend so far. It’s too cold to really want to go out and do anything, so everyone is just puttering around the house. Yesterday I drained the pool water back down below the tile line. First time doing that so far this winter. Since closing, the water had crept back up several inches. Before that, we hit Macaroni Grill for an early lunch to celebrate my b-day, and I picked up some telecom equipment at Home Depot so I can work on rewiring the phone jack in the master bedroom. I have never wired a 66 punchdown block before, so this is going to be a learning experience. I think I am going to use the 66 block to replace the existing screw-terminal phone junction in the boiler room, which is a bit of a bird’s nest. It’s going to take a little planning. I will probably end up taking a day off work to do it, on a day when I can have the house to myself.

Today I have mainly been working on spackling and sanding the trim in the master bedroom, in preparation for painting. Most of the prep work has been concentrated on the trim. Years ago, someone decided to mount a phone jack near the entrance to the bathroom, so they tapped into an existing jack behind the bed and ran phone wire along the trim to the new jack. The wire was meticulously tacked along the baseboard, up one door opening, over three doors, back down, across more baseboard, up and over the bathroom door, and finally back down to the jack. It was really quite impressive, especially considering they could have run it through the basement, which would have taken about half the time, used about half the wire, and resulted in a nice, concealed wiring job instead of a massive eyesore. But, I digress. Anyhow, I pulled out all the wire, which was (of course) covered with several layers of paint, leaving me with a big patch and spackle job. But it’s almost done now, and soon we’ll be painting. Can’t wait.